If you're like me, and I know I am, you have spools of wire or solder sitting around. I generally put mine in the cabinet above my desk. Lately, with more projects going on, I find myself pulling them down out of the cabinet constantly. I had a collection of the most used spools sitting on the workbench cluttering it up. Well, no more, I say! Here's how I organized them and made it easier to pull pieces from them quickly.
Making Mad Props for meltmedia's Interactive Superhero Marketing Launch: Techno HAMMER
I believe I've mentioned it before: I work at an amazing web and software development shop called, "meltmedia." We have a gaggle of highly talented software engineers, web developers and designers. Sometime back in 2011, meltmedia was in search of a new tag line to kick off a for-real live marketing campaign. Marketing was something melt hadn't worried about before then. While in San Francisco at the 2011 Apple World Wide Developer Conference, in a bourbon-fueled barrage of submissions to the company's on-line suggestion box for new company tag lines, I came up with, "We are Interactive Superheroes." It stuck and I won a $90 bottle of bourbon. Woohoo! To be clear, I am fueled by many things: Caffeine, sugar, soda, etc., not just bourbon. I like chocolate milk. I happen to be a major bourbon geek and had been sampling fine bourbons at a speakeasy in San Francisco called, "Bourbon & Branch" before I went back to the hotel and started submitting dozens of mostly silly ideas for meltmedia's new tag line.
For the short attention span version of this, here is a photo of the three partners of meltmedia in their full costumes with their props:
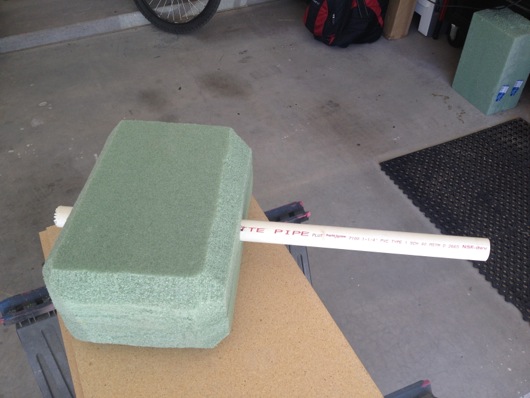
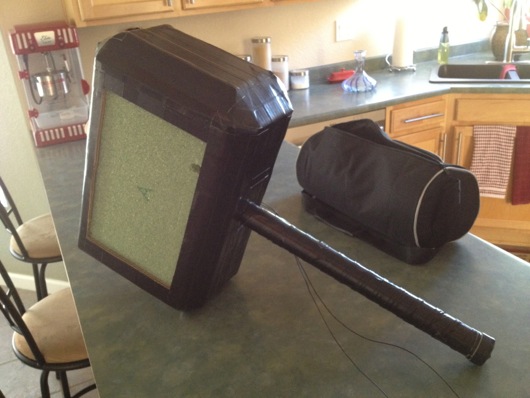
We'll start with the biggest prop: Mike's Techno HAMMER (Highly Active Mike Moulton Energy Repeater). I needed this thing to be big. I didn't have much time for any of these props, especially the HAMMER. To sturdy up the thing and to keep it as lightweight as possible, I started with green foam from Michael's:
The handle is a piece of PVC pipe from my pool equipment upgrade last year. I knew I'd eventually find a use for the pipe!
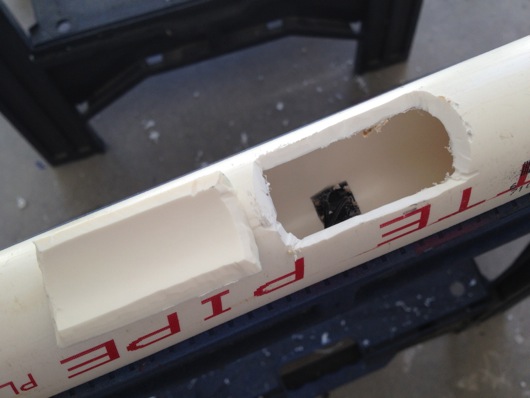
At first, I wasn't going to get all electronicky on this thing, but it just didn't seem right to have a TECHNO HAMMER without random blinking LEDs on recycled circuit boards, so, this thing needed a circuit to make random LEDs blink. It also needed a way for Mike to turn on and off the LEDs at will. I did this by embedding a standard pushbutton in the handle:
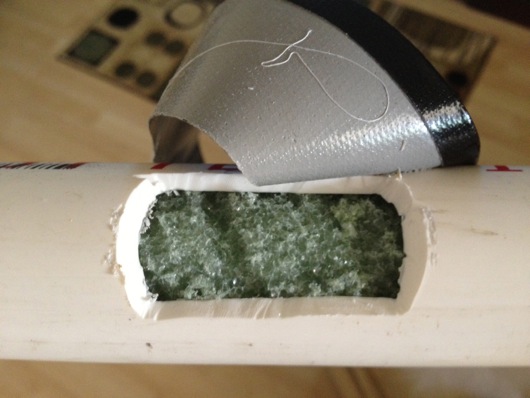
I cut a hole for the button, then cut a BIG hole behind it to allow me access for glueing. To be sure the button would be at least somewhat difficult to push through the handle, I jammed a piece of leftover green foam into the handle and behind the button before I closed up the back of the handle:
To crappily simulate leather wrapping on the handle, you can see in the image above that I took strips of Gorilla® tape and folded one edge, then wrapped up the handle at an angle. It kinda did the trick. Ya do what ya can in the time ya have, ya know?
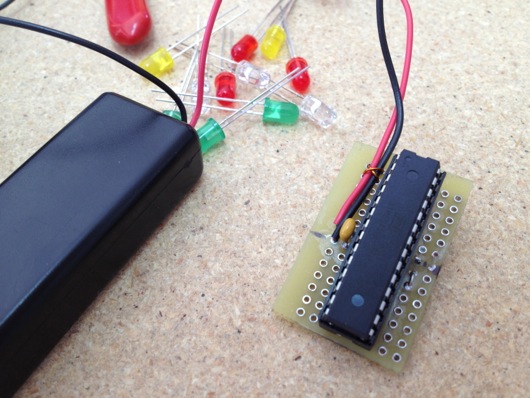
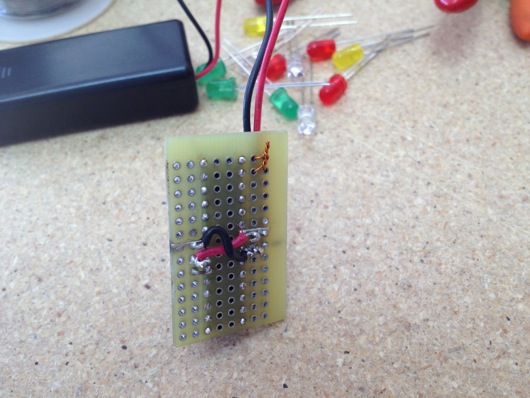
The button was in between the batteries and the LED blinking circuit. A simple momentary power-on functionality. The circuit was an Atmel® ATmega328 AVR® microcontroller (same one used in certain models of the Arduino). It was programmed to strobe the LEDs (rifle through each of them and turn them on or off many times per second, like a TV scanline). To keep the current draw to a minimum (to prevent the AVR from cooking), I had all of the LEDs cathodes return to ground through a dinky little constant current devices (CCD) from ON Semiconductor (part number NSI45020T1G). There are 12 LEDs. 12 pins on the AVR are randomly set to be on during their time slice or off. The little CCD kept the current to 20 mA for each LED. This allowed me to use red, green, yellow, and orange LEDs, regardless of their required forward voltage, since the current was always 20 mA, which they all liked. The other reason for doing it this way instead of a resistor was power consumption: The CCD is way more efficient that a resistor that dissipates heat to get the current to where it should be. The circuit was powered by two little AAA cells, so the voltage was about 3 volts DC. Since the microcontroller drew very little power and the LEDs were only on one-at-a-time, the batteries should last for days and days if left on continuously. I did run a test and they stayed lit for about 4 days before I had to assemble the HAMMER circuit. Here's the circuit and batteries:
And here is the ugly underbelly of the circuit (again, time was not on my side, therefore beauty was not on the HAMMER's side):
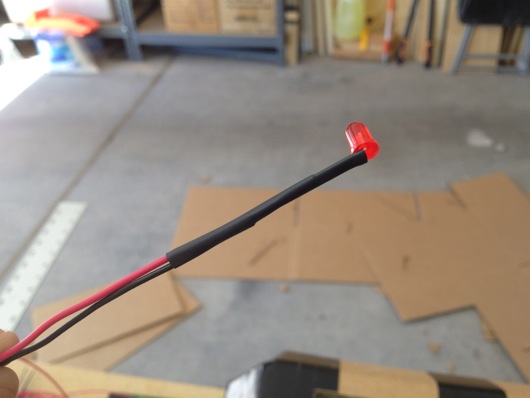
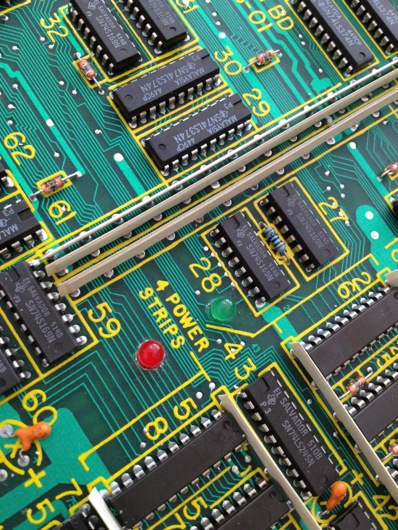
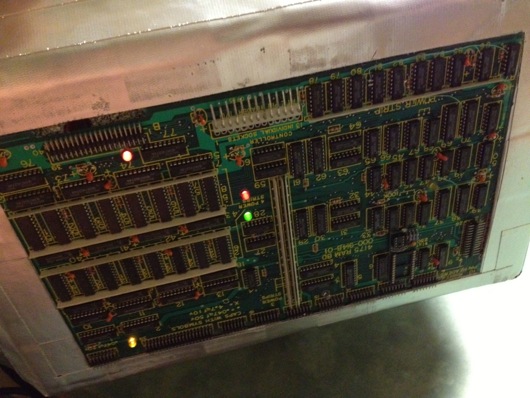
The next part of the LED circuit is the 12 LEDs that poked through the recycled circuit boards (I'll get to the boards shortly). I drilled holes in old boards pulled from an old (and quite large) oscilloscope that was given to me but that did not function. Each LED was given its own wires and a nice heat-shrink tubing treatment:
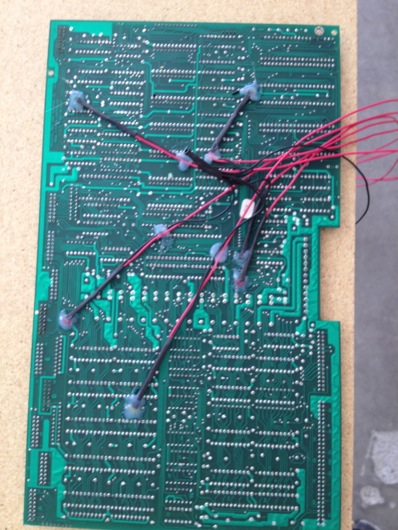
Two fairly similar old circuit boards were used for the two sides of the HAMMER. I drilled appropriately sized holes in kinda-random places and poked the LEDs through and grouped the wires together, connecting the grounds together:
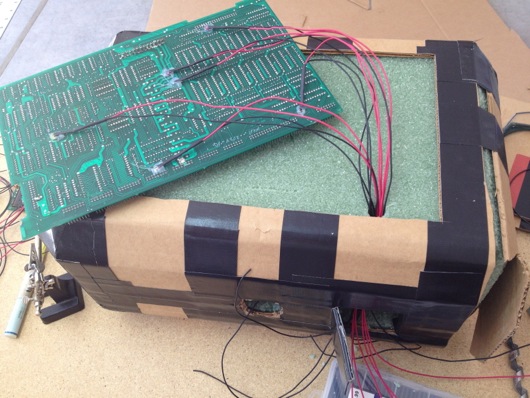
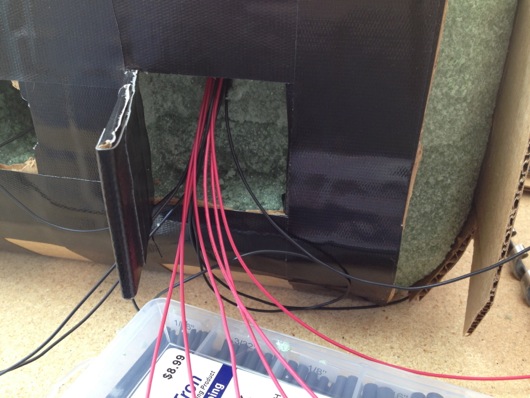
Each side's wire bundle would go through little holes in the foam core of the HAMMER and into a secret compartment that held the circuit main board and the batteries:
The compartment was crudely cut (like most of this sad but fun project) into the foam core:
The LEDs looked right at home in the old PCBs:
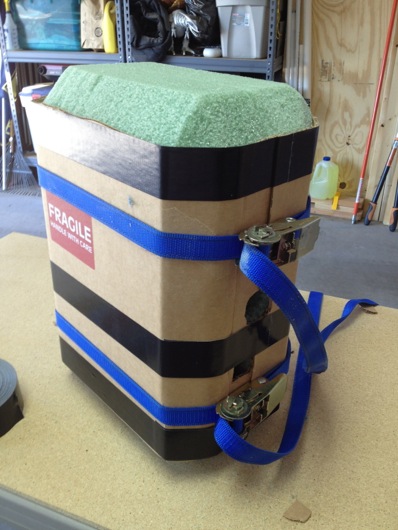
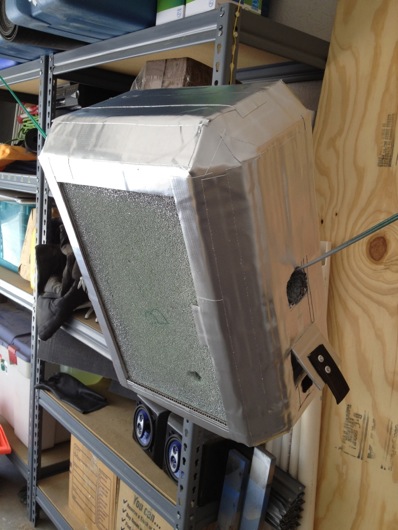
The shell of the HAMMER was just cardboard faces stuck together hideously and hurriedly with Gorilla® tape. The cardboard was coerced into shape around the foam core:
The entire thing was eventually covered in Gorilla® tape:
Next came the primer and silver metallicish paint for the shell. Turns out, Gorilla® tape doesn't take primer as well as I had hoped. But, it was good enough for the intended limited use:
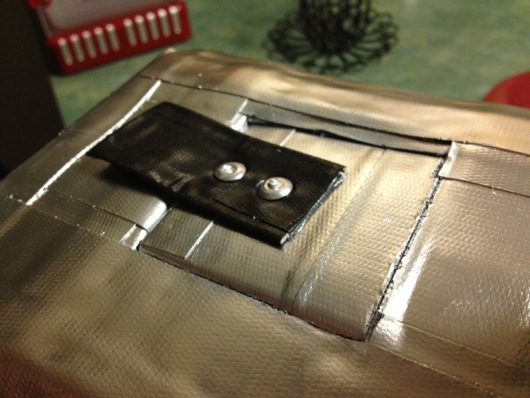
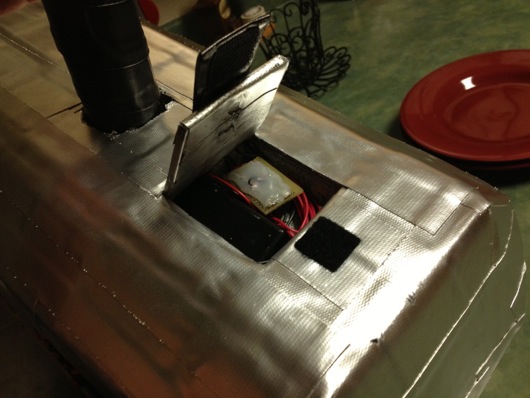
In the image above, you can see the circuit/battery compartment door and the makeshifty little riveted Velcro® closer... Thing:
Yes, it's cheesy and not at all indicative of a quality or sturdy product, but, again it serves its purpose well enough. Here's what all the crap looked like crammed into the compartment:
Finally, I soldered all 14 of the LED leads to the circuit board and connected the batteries and pushbutton and it was ready to go!
The photo doesn't show it randomly lighting LEDs, of course, so here's a video of the LEDs in action:
And finally, here is Mike actually being an Interactive Superhero with his Techno HAMMER:
Sharp Clock (Saw Blade Recycling)
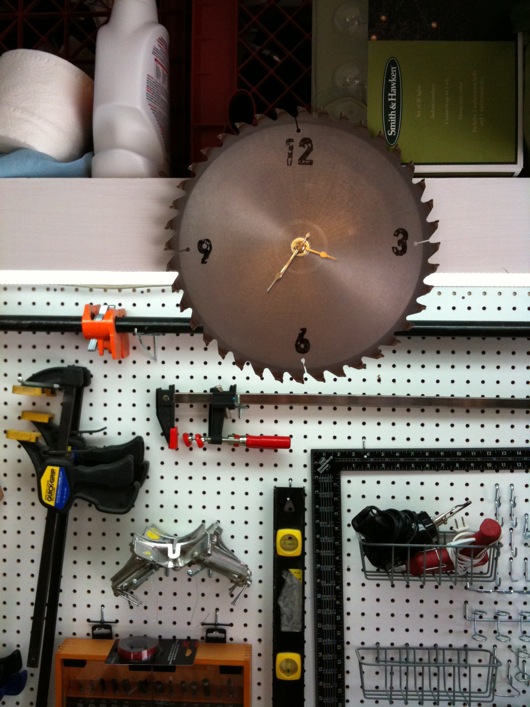
Run down to your local craft or hobby store and grab a $7 quartz clock movement thing. Sand the crap out of the face of an old saw blade. Get a permanent ink pad (I used black and some squishy clear stamp things) and stamp the numbers on the face. Hang it in your workshop or garage.
I bought the clock with a 1/4" stem (or whatever they call it) (the thing that sticks out of the face of your clock to which the clock arms are connected) from Michaels. There are different depths. This was the least of all of them. Saw blades are not thick.
I sanded the heck out of the face of the saw blade. Got it as clean and "brushed" as possible. This, I would think, allows the ink to "soak" into the brushiness of the metal and stick a little better. At least, it probably wears better.
I bought a Staz On Jet Black permanent ink ink pad, a set of Inkadinkado clear acrylic stamp pads, and a set of Recollections Clear Stamps in a font that seemed garagy/workshoppy. Then, I simply inked up the characters I had stuck on the acrylic stamper things and pressed the numbers onto the face of the saw blade.
The clock movement didn't quite fill the hole in the center of the blade, so I used a washer big enough to cover the reminder of the opening that the clock movement stem did not fill. I then tightened the movement down to the washer and the blade.
All you have to do after that is hang it. Make sure you put a sturdy screw into the wall or, in my case, the pine shelving. Saw blades are a little heavy. How do you explain the 10" saw blade clock lodged in your skull to your wife when you need a ride to the hospital? Exactly.


