Updated: Added link to ACA store and site
For a luau-themed software launch party at meltmedia, we wanted to be able to play Cornhole. I don't know that Cornhole is a regular game played at traditional luaus, but at meltmedia luaus it is. As I am the Chief Tinkerer (see proof on Instagram) at meltmedia, I volunteered to build the game parts for the festivities. If you're not familiar with Cornhole, it's a very simple game: Toss little corn-feed-filled cloth bags at a 6" hole in 24" x 48" board that's about 30' away from you. For all the official rules, go to (I'm not kidding, here) the Official Cornhole Rules page at the American Cornhole Association website. It's hard not to giggle.
If you are not inclined to DIY or just want it now, you can order a pre-built set from the official rules organization of corn hole, the American Cornhole Association (ACA).
If you have even the most basic of woodworking skills and tools, you can do this. Here's what you need:
- Circular saw (optional, if you have a lumber supplier that will cut things for you)
- Miter Saw (again, optional if the lumber yard will do it for you)
- Drill and a bit (bit size to match bolt below)
- Four bolts (any diameter you want, length that can make it through the ¾" side board and the 1½" legs)
- Four nuts that fit bolts
- Four lock washers that fit bolts
- Eight fender washers that fit bolts
- Faces: Two 24" x 48" pieces of 11/32" plywood
- Sides: Four 48" pieces of ¾" x 3½" pine (¾" x 2" if you want to be all official-n-stuff)
- Sides: Four 22" pieces of ¾" x 3½" pine (¾" x 2" if you want to be all official-n-stuff) (you can purchase SIX total 48" pieces and cut two of them into 22½" lengths)
- Legs: Four 1½" x 1½" x 11½" pine pine (I used poplar for some reason) (the length of 11½" is the longest length, there is a 10-ish° cut on that end that leaves a shorter length on the opposite side) (see CAD drawring)
- Eight square duck cloth pouches filled with dry corn feed (I bought two sets of four at a local Walmart)
One thing I didn't follow was the 2½" height rule for the front face of the board. You can see above (material list) and below (CAD) that I used ¾" x 3 ½" pine boards for the sides. So, I guess these aren't fully official, but they're perfect for your back yard, camping or at the office. Hopefully the ACA won't hunt me down and pummel me with corn bags. When I was buying the wood, I think I saw the ¾" pine boards and figured they were close enough. Obviously, 2" boards would be cheaper, so knock yourself out.
I got the dimensions from the ACA and here is the CAD drawring I made in Autodesk Fusion 360 (my current go-to for designing things):

The CAD drawring above doesn't have the bolts and washers, but you get the idea. What I built is not exactly what's in that CAD image. I kinda measured as I went. Here's how I built the meltmedia boards...
Face Boards
I cut two pieces of plywood from a full 48" x 96" sheet with the circular saw. Literally only TWO cuts across the width of the board.
For the holes, I marked a center by simply measuring inward from one of the shorter edges 9" along each longer side, marking those measurements with little tick marks at the edge. I aligned the edge of the ruler to the two marks and measured in 12" (center between both longer edges) and made a little mark for the compass needle to sit. I set the width of the compass to 3" and set the needle on the hole and traced out a 6" diameter circle.
Next, I drilled a 1/2" hole just inside the circle I drew. I grabbed the jigsaw and cut out the inside of the circle. Boom. Done.
Side and End Boards
The side boards need to be 48" long. If you buy them already 48", you don't have to make cuts. Bonus.
The end boards on my project came from one 48" piece. to make sure everything fit perfectly, instead of relying strictly on the math to figure their lengths, I placed the two side board on the face board and measured the actual distance between the side boards. I did this for each end board to get as perfect a fit as possible. This isn't strictly necessary, but sometimes that craptastic wood at Lowe's or Home Depot isn't completely perfect.
Build the Box
I used wood glue everywhere in addition to the nail gun. After watching the game play, those 16 oz. bags full of dried corn sometimes (often times) slam down on the boards hard. I think the glue is important to keep that board in one piece after extensive use.
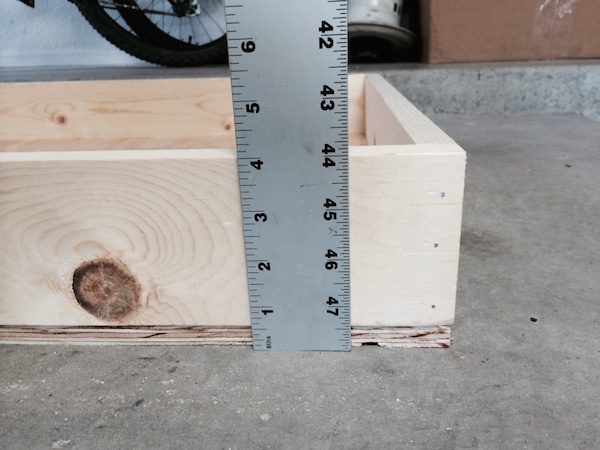
I first glued the ends of the end boards, stuck 'em to the side boards and shot three nails into them. Did that all the way around. Next I put a bead of glue around the top of the box of side boards and carefully laid the face board onto it. I did a little readjusting to make sure it was all square and as nice as I could get it. then I shot nails down through the face board at about 4" to 6" increments.
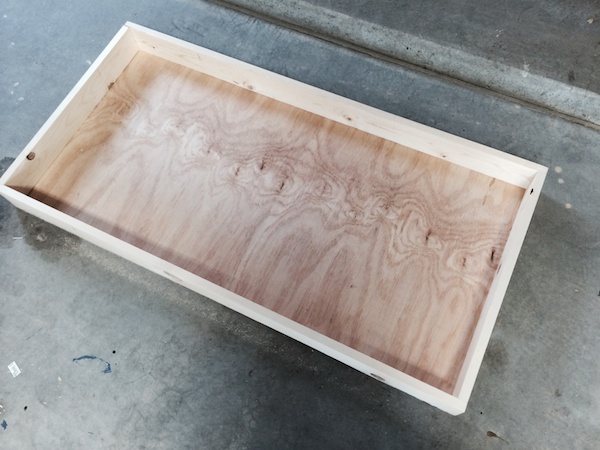
(Note: Notice that I built the box before I cut the hole. Doesn't really matter which order you do it. I will say that your jigsaw is probably going to make more noise if the box is built first, as the box acts like a sounding board in a piano.)
Lather, rinse and repeat for the other board and set them both to the side while you make the legs.
Legs
The legs have one funkier-than-normal cut, otherwise they're just 11" pieces cut from the 1½" boards. Excuse the ridiculously tall image:
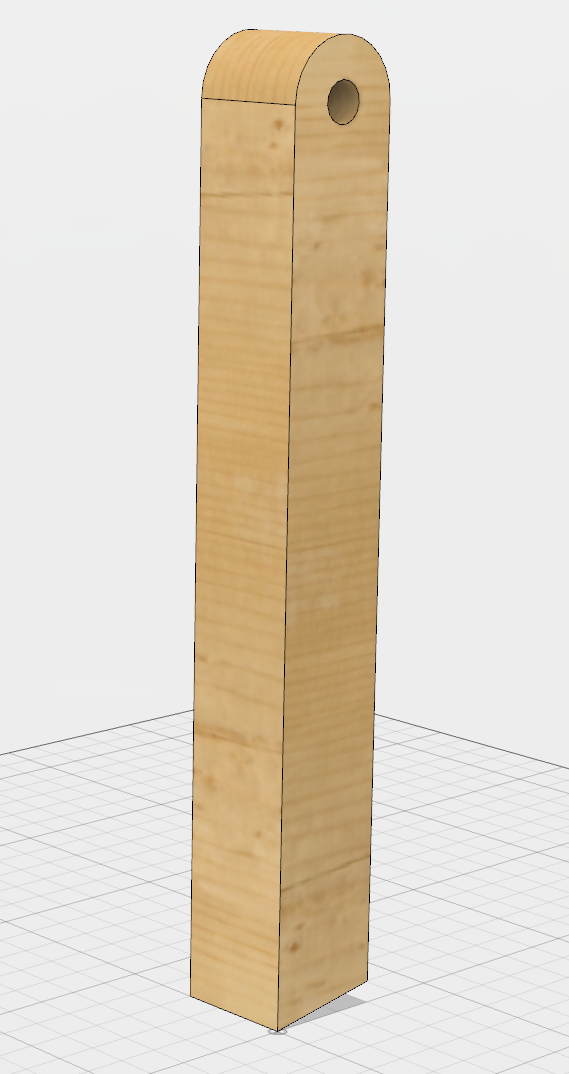
The bottom of the leg has a 10 degree cut on it. The longest side is 11½" from the bottom to the top of the leg. I found the center point for rounding the top of the leg using the compass. Instead of wheeling out my bandsaw to round off the top of the leg, I simply cut two 45° cuts in the scrap area of the top of the leg (outside my circle). I then used a course grit belt on my belt sander to mostly-kinda-accurately-but-not-really-more-like-lazily round the top off.
I used the same center point for rounding the top to center the drill press to make the hole for the bolt. Use a bit that's a tad larger in diameter than the bolt, of course. Here are the leg parts:
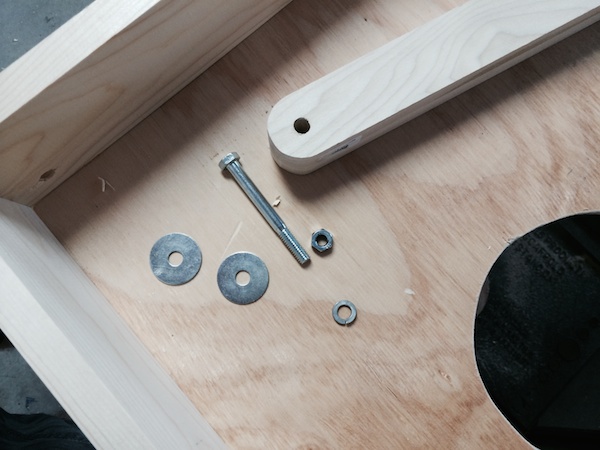
To drill the hole in the proper spot for the side boards, I just turned the box bottom-side-up and held the leg in place and marked the hold with a pencil. It was safer than relying on the math for positioning it. Faster, in my case. :) Once you get the hole drilled, dry fit the bolt and washers and stuff:

The lock washer helps keep the washers just tight enough that the legs will stay in place, whichever position you rotate them to. They're maybe not strictly necessary, but they do work well.
Finishing Touches
The ACA wants the face of the board smoooooth. So, sand the crap out of the face to ready it for paint. I sanded the sides and smoothed all the edges and corners to maybe prevent snagging of the bags and whatnot.
I used Kilz® primer to prep the wood for paint. One coat worked pretty well. I handed the Lowe's paint girl my meltmedia business card to have her match the actual melt blue color. It worked perfectly. I didn't get one complaint from our Creative Partner, who is a notorious stickler for colors and [especially] fonts. Don't ever tell him you love Comic Sans.
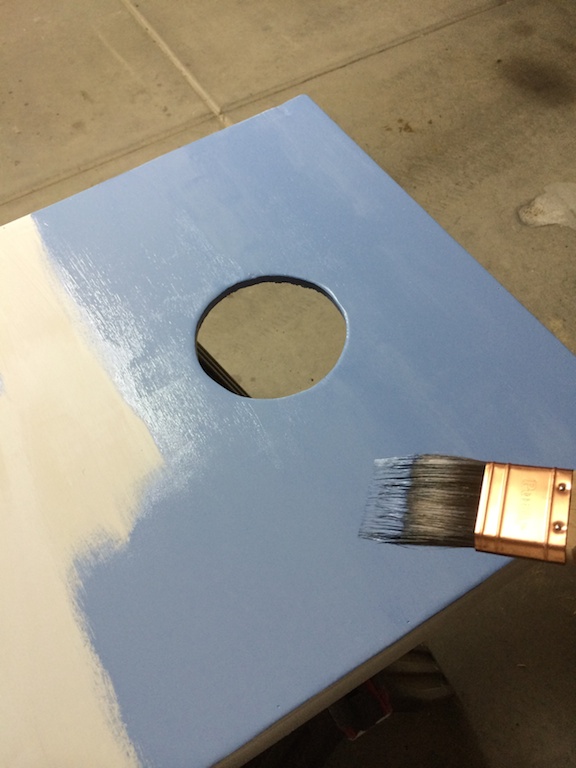
It turned out that the meltmedia blue Valspar® Signature gloss paint went on plenty thick and it looked great when it dried, so I didn't do a second coat. I did use a brush, not a roller. I'm not that experienced with paint, but it seems that I can get smoother results with my really nice Purdy® brushes, so that's how I did it. Spraying it with the Wagner® gun might have been faster and produced a more swanky finish, but I was running out of time on this project. I didn't want to waste time cleaning that sprayer.
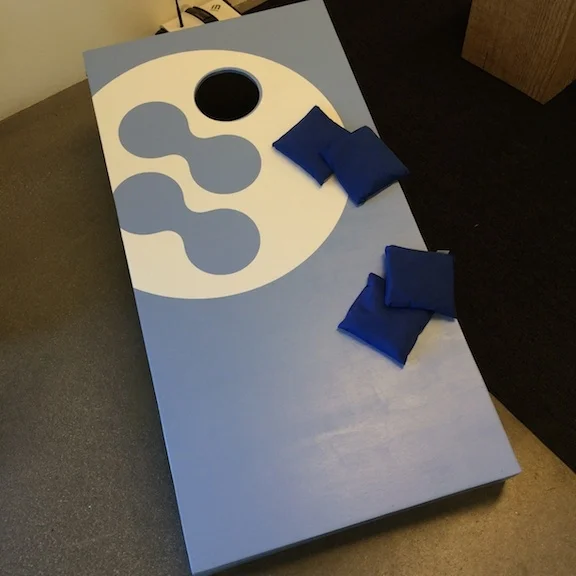
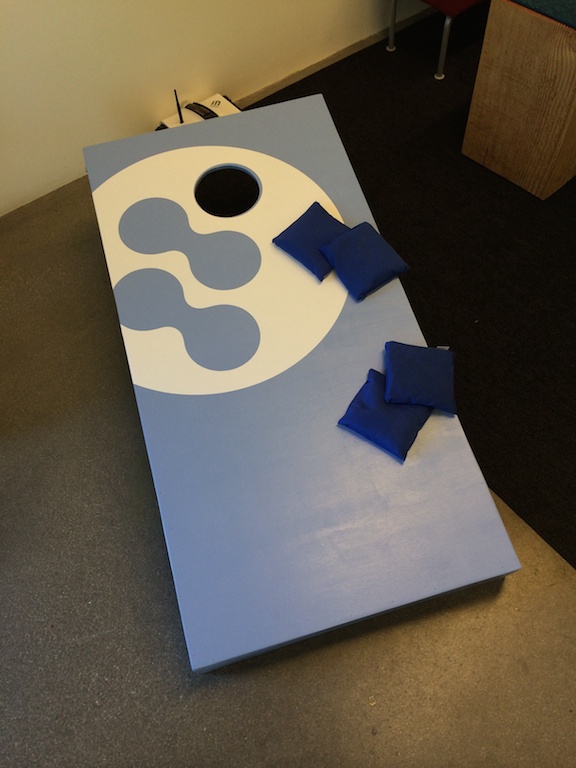
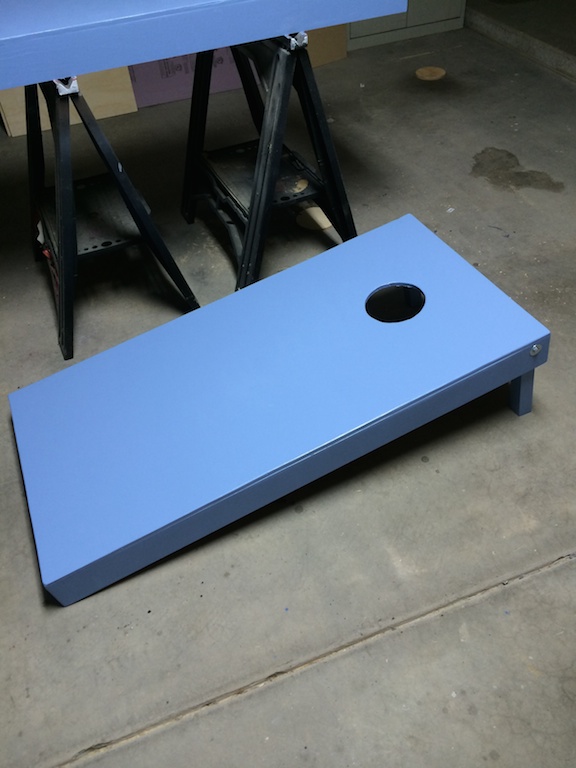
Here's the completed meltmedia blue Cornhole board paint job:
I ordered two 26" meltmedia logos in peel-n-stick white vinyl and the Creative Director (who used to put vinyl wraps on things for a living) helped me place the graphics onto the faces of the boards. And that was that!
The game was a great hit at the meltmedia launch party and I think the set will get a lot of use in the office.
If you make a set yourself after reading this article, please send me photos and I'll add them here to show off your handy work! Happy cornholing! (Not sure if that's a family-friendly line or not.)