
I found out that the city code requires a permit to make a building of 200 square feet or more, so, I jumped into Autodesk Fusion 360 and designed on that is 192 square feet.
Behold, the custom-designed, custom-built, official StuffAndyMakes.com shed of bigness and woodiness:

The completed and painted shed
In January of 2016, we moved into a house more central to the metro area and the lot is 0.88 acres. I have posted previously a first-draft design concept for my future workshop, which was inspired by the size of this lot. I emphasize the size of the lot because we’re right in the middle of the 6th largest city in the US. It was a huge score! BUT, until that thing becomes a real thing, we needed to remodel our house, which was not as big as our previous house. We had more stuff than the house had room to store it, especially with all my shop stuff.
We needed some auxiliary storage. I looked at Tough Sheds and other pre-built, delivered-to-you-property type options. They were pricey for their sizes or not quite what I wanted or just not built to my standards. But, mostly, I DIY. By Maker Law, I should build my own as big as I can build it within the law.
I researched the city ordinances on outbuildings and sheds and stuff. In our city, if the building is 200 square feet or more, it requires a building permit. So, I jumped into Autodesk Fusion 360 and design a shed that was a couple of square feet under 200.

Autodesk Fusion 360 model rendering of 192 square foot shed
ℹ️ You can grab the CAD file from my GrabCAD library here.
CAD Time Is Time Well Spent For Larger Projects
I don’t always CAD up ideas, but when I do, it’s because I need to see what something will look like roughly OR to figger out how much and what kind of materials I will need. But, let’s be honest, mostly I just wing it on my projects (see OfficeChairiot.com).
I designed this thing to be sturdy, but to keep material use to a minimum, so I went with studs at 24” on-center and used “California corners” for where the walls met. If I ever decided to turn it into a proper, albeit small workshop, I could stuff insulation deeper into corners. Arizona can get to 120ºF in the summers, so the more insulation, the better. Haven’t done that, yet, though.
I started the drawing with a rectangle to find the best looking footprint for my taste and sized it to 192 square feet. Then I worked from there. As Dr. Stephen Covey says in his 7 Habits of Highly Effective People: Begin with the End in Mind. Because it’s parametric CAD, I basically pulled up the shed walls and whatnot from that rectangle and boom. If you haven’t used a good parametric CAD program, I highly recommend you start. Easy and visual and you can get exactly what you will be buying/building on your computer screen.
Construction of the Shed Beast
I’ll walk you through the stages of construction below. I had to add more driveway, calculate the material, build the thing, and finally load it up with shelves and stuff. Here goes…
Pouring the Driveway Extension/Shed Foundation
The first step was to clear the land where the driveway extension was going to be poured (and where the shed was going to sit).

Old driveway is tinted green (been that way for decades) and new extension is framed up, ready for concrete pour
Per code, we had our bug peeps come out and saturate the area with termite killer. The guy absolutely soaked the ground, which is great, because the next step in construction was unexpected and was all Mother Nature’s doing…

Of course it rained right after the bug killer went down
Rain!!! It rains in the Phoenix area maybe just a handful of days each year. Somehow, it seems to happen on days off and on special construction days. Silly desert.
Notice in the photo above that the guys added rebar to the edges of the old driveway. They drilled horizontal holes into the old concrete and placed rebar to connect the old concrete to the new concrete. It prevents movement between the two to keep that joint between them as even as possible over time. As you’ll see in a future post, I do the same thing (because building code) to the footings for the giant-ass beam that holds up the roof over our great room in the house.
Next morning, everything is dry and the concrete truck arrives right on time. The guys were ready with the wheel barrows. They moved concrete so quickly. The concrete company didn’t want to be liable for crushing our late 1950’s driveway, so wheel barrows were in order.
Time to pour concrete!
Next up, smoothing out the freshly poured concrete, adding the joints (called expansion or control joints) to control cracking, which cured concrete will inevitably do.

Smoothing out the concrete surface after it’s cured a little
Here’s the completed surface…
Completed surface of new concrete extension to old green driveway
Moisture (water) is necessary for concrete to cure properly. The contractor recommended I go out daily and water the new concrete. So, for the next 5 days, I went out every morning and evening to give the concrete a good drink of hose water. I think, in the end, it loved the free drinks. The concrete looks spectacular, has no cracks outside of the joints, and was super tough when I drove nails into it for the baseplates on the shed. They did a great job on this slab.
Finishing Design, Counting Sticks, and Ordering Material
I use Autodesk Fusion 360 for everything that isn’t engineered on-the-fly. This project needed some detailed design so that I could get a solid count on 2x4s, 4x8 sheets of whatever, and the various other things used to construct this thing.

Rendering of shed with some of the parts hidden
I was able to order exactly the material I needed, since I could count the studs and rafters and panels in the CAD design. I added some extra material for good measure, since I don’t always measure well. Measure twice, cut once… Or three times. Whatever it takes…
Anyhoo… Here is the lumber company unloading the exact amount of stuff I needed to build the shed.

Watching the super-maneuverable forklift precisely position the shed material on the new driveway extension

The perfect amount of stuff to build a 192 sq, ft, shed
All told, after it was up and paneled, the cost came out to about $5,000, not including my time. I’d say that’s a screaming deal for a 192 sq. ft. shed. I got the siding and roofing stuff at Home Depot. Didn’t go fancy. More on that in a bit.
Building a Custom Shed
I printed the CAD design and marked it up a bit to figure out what goes where. I good miter saw makes all the difference doing stuff like this. Makes cutting 2x4s quick and easy and efficient. The speed square is a must when framing and for general rough carpentry. This shed didn’t need to be dead-nuts accurate, but it needed to be close as I could get it. These tools and some patience make that possible.

DeWalt miter saw, speed square, and plans
Firs thing to do is to start putting the walls together. Since I had the concrete guys build the driveway extension with a slope to it, I had to incorporate that into the construction of the shed so the top plates and door and whatnot were level. The side walls needed to have a slope to the bases; the front wall was built the way it was done in CAD and back wall was built to account for the slope.

Laying out the wall studs and plates
Once I got a wall put together, I nailed a couple of studs to it to keep it upright and mostly plumb. Most of the time I was building this thing, I didn’t have anyone around to help hold stuff, so some bracing was in order.

A couple walls up and temporarily braced, because no helpers
I built each wall on the ground to make sure everything was exact. Building vertically is silly if you can do it on the ground. Notice in the next photo that the area above the door is missing the header. I built the header while the wall was on the ground, but wouldn’t nail it into place until the walls were all squared up and plumb, but before the sheathing went on. You’ll see the header in the photo with the sheathing below.

All four walls up, braced, and also squared up and plumb
In the photo above, I have clamps holding the walls together at that moment while I was checking and adjusting for square and making them all plumb. Once I had a wall in the right place, I nailed a temporary 2x4 brace across the wall to lock it in square and plumb. Once all the walls were set, I nailed them together at the corners and added the second top plate over them all.
Next up came the outer sheathing for the walls.

Some of the wall sheathing is up and notice the header over the door opening
I called my architect to see if 2x10s at 24” on-center would be plenty sturdy enough for this roof and he said it would be perfect, so up go the 2x10 rafters.

2x10 rafters in place and held there with nails and hurricane ties
Next up, I attached the fascia and it came already primed for paint, which is handy. I also added in little perpendicular raft pieces on the side overhangs.

Fascia up along with little side rafter thingies (clearly I’m not an architect or pro builder)
Put a Roof On It!
The roof is just a standard asphalt shingle roof that mostly matches the roof on our house. The first step is to put down the felt. As I mentioned up above somewhere, all this roofing stuff came from Home Depot. They can help you figure out what material to buy.

Roofing felt, footprints, nails, cable/telephone line (nice add, and eventually buried along with the power, which was only 2’ above the corner of the roof)
Since I was careful about squareness and stuff, rolling out the felt was a piece of cake. Started at the bottom and overlapped each successive row until I hit the top of the roof line. Super simple. Nailed it every few inches (read instructions on your roofing material, of course). Next up, shingles!

Shingles going on, staggered for that… Um… Staggered look?
A pack of good shingle blades for your utility knife is a must here. Cutting the shingles at the ends requires a good knife. You will go through quite a few blades, thanks to the tiny grains of sand embedded in the shingles. The knife does a great job, though, and it goes through quite a few shingles before getting too dull.

Completed roof
From the beginning, I knew I wanted a solid steel roll-up door, like they use for storage units. I like the garage door style door for a shed this size, but wanted the door to not take up a ton of space while it was open. Roll-up doors are perfect for that. I also like the barrel lock for these things. I opted for the heavier gauge steel door. They sell a thinner gauger, but this felt like it was sturdy enough that if anyone ever tried to bust their way in, they’d make so much racket doing so that they’d get caught before they ever made any progress.

Roof on, steel roll-up door installed
At this point, I just needed to figure out how to close in those triangular gaps above each side wall. I put a kind of cripple stud up in those gaps in the CAD design, in the right locations for catching the nails for 4’ pieces of sheathing.

Left side sheathing hidden to show cripple studs between wall top plates and rafter
I think this worked out pretty well. I sometimes get locked up on weird detail work, like those silly triangles. But, in this case, my guesswork architecture worked out OK. As you can see below, the sheathing in that triangular area went on without much complaint.

Triangular areas on the side walls under the roof covered nicely
I used this SmartSide 48 in. x 96 in. Strand Panel Siding from Home Depot for the siding. At $33 for a 4’x8’ sheet, it was a pretty cheap way to side this shed. Here’s what the stuff looks like put up:

LP SmartSide 4’x8’ Strand Panel Siding up on the shed beast

Front of the shed with the siding all up and trimmed
Final Thoughts…
The best part about this shed was moving all the crap out of the garage so that I could have this, finally…

A two-car garage with two cars inside
We hadn’t been able to park both vehicle in the garage since we’d moved in. This night was glorious! I didn’t get front parking sensors on Red Ram, so backing in is the ideal way to fit that beast in the garage. I have the backup sensors and camera down so well that I can park it with the rear bumper within an inch of the back wall. Love it.

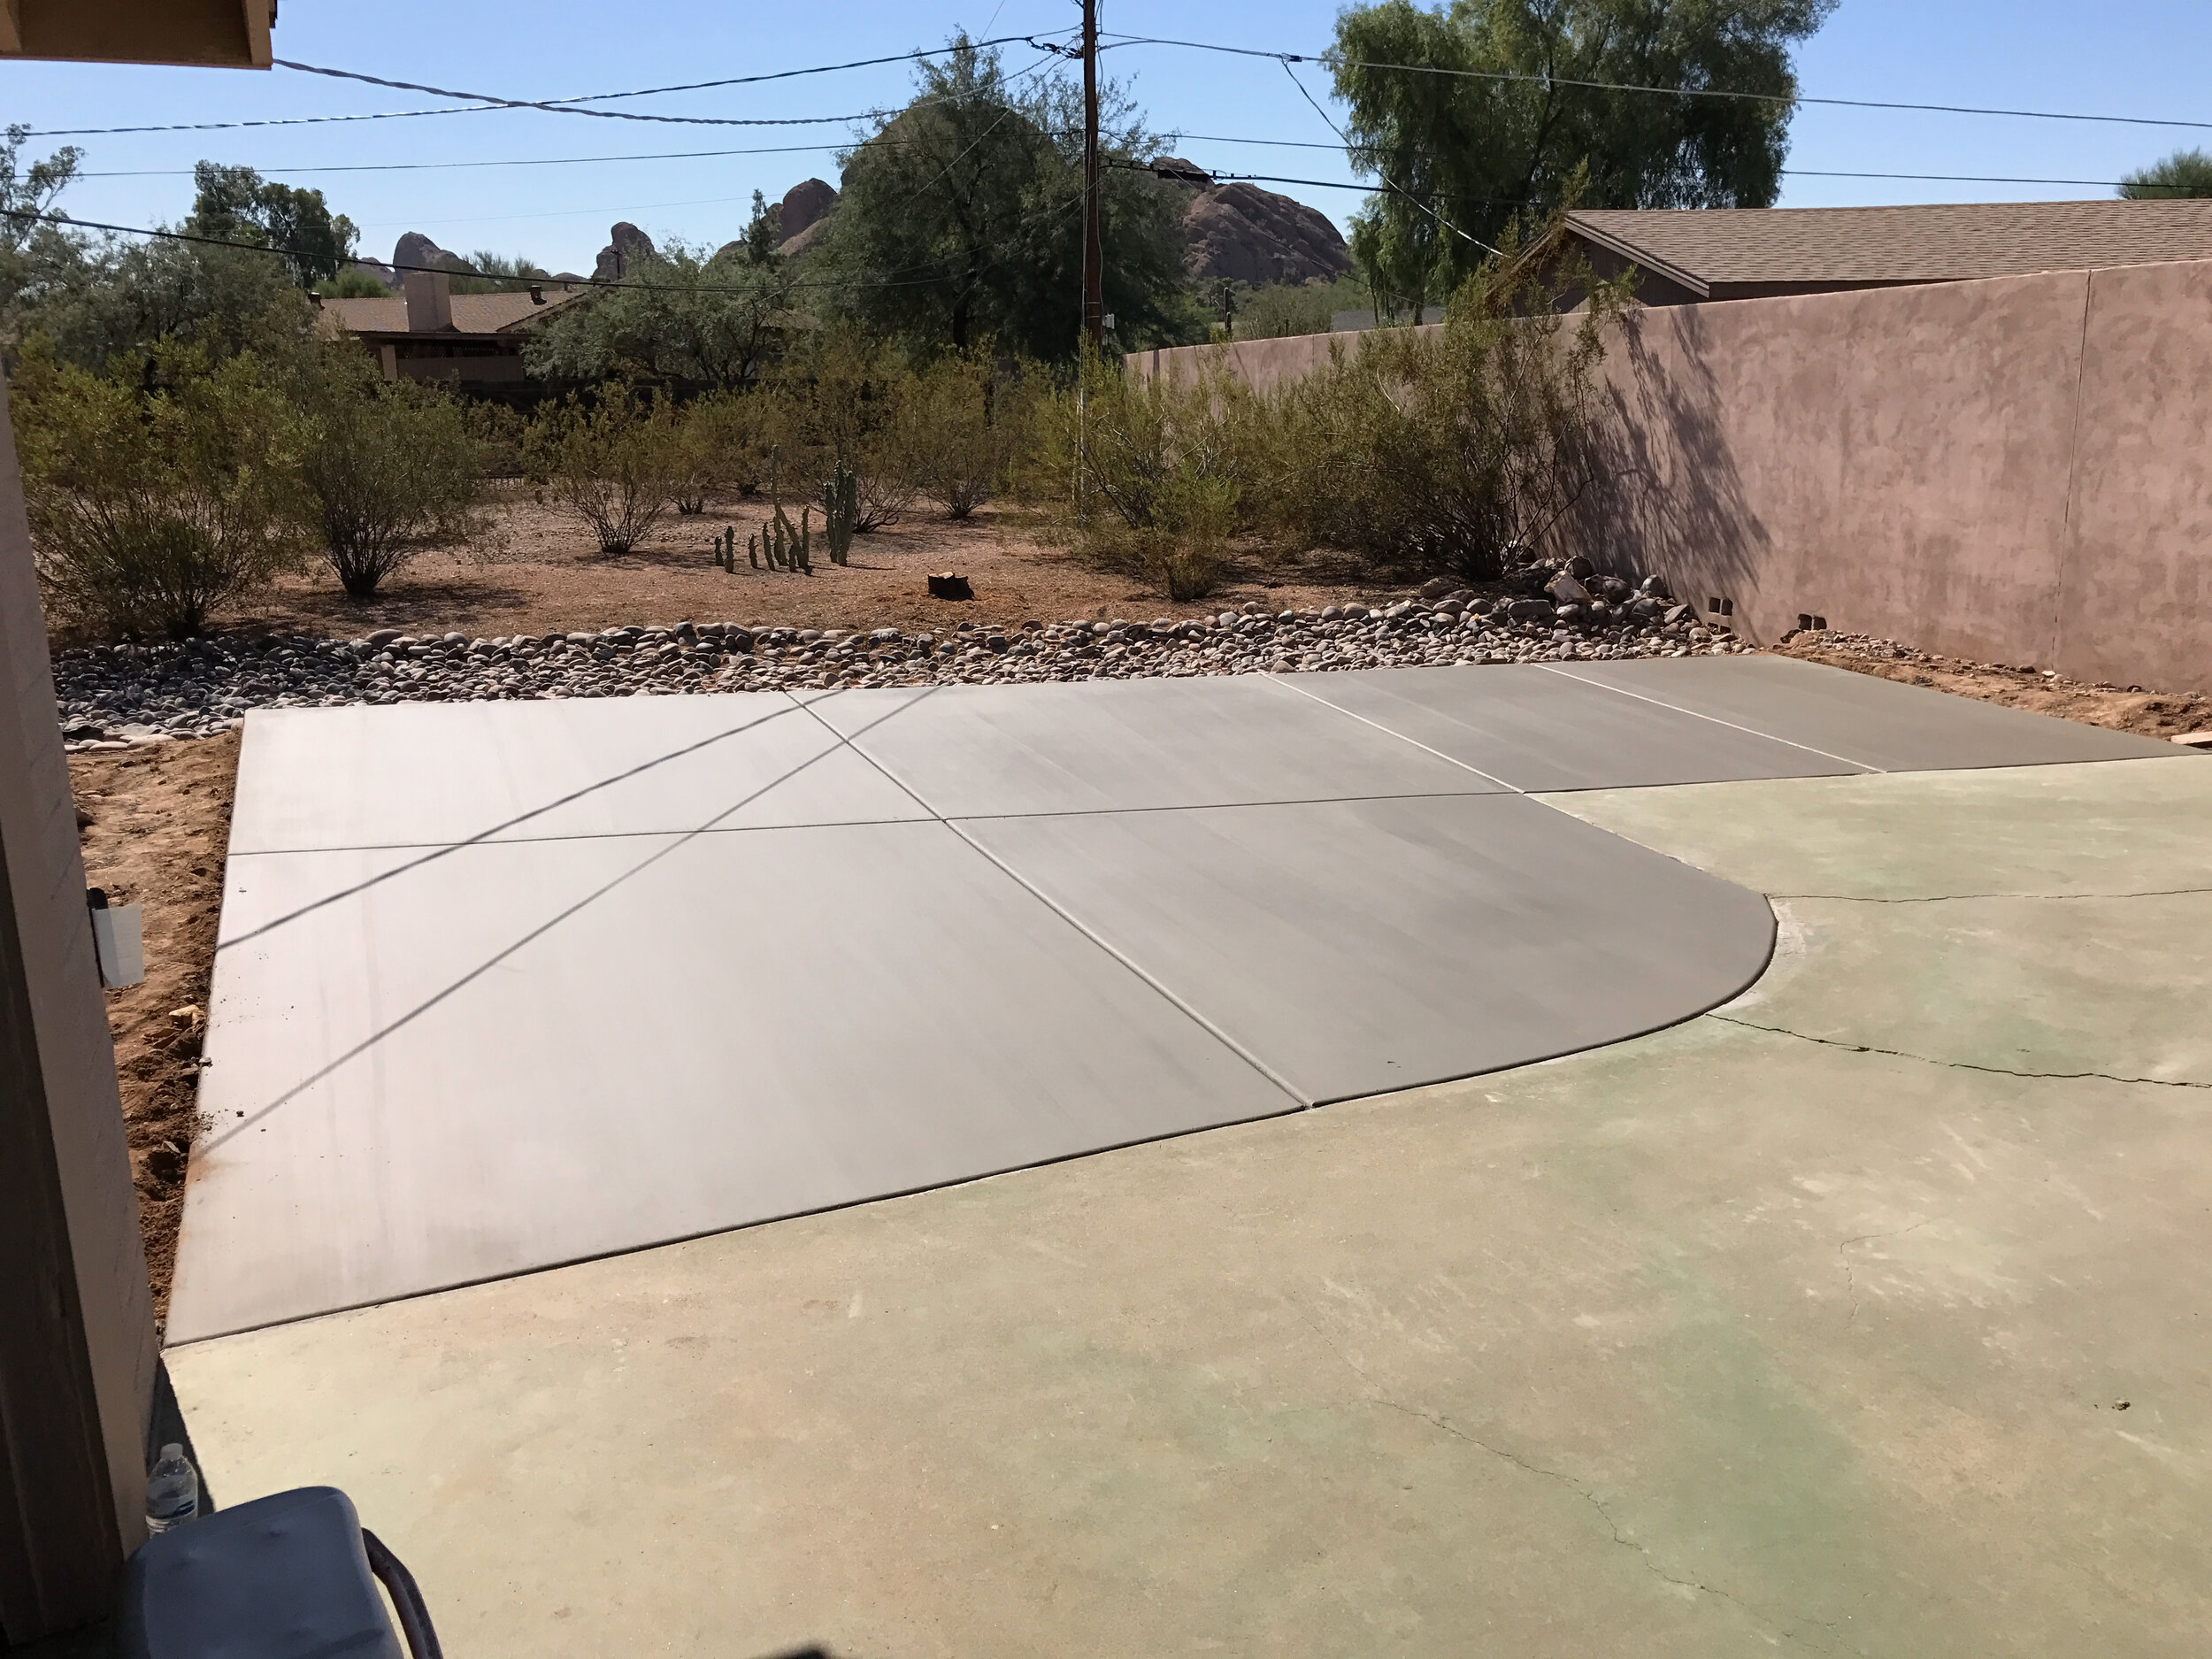
Giving a sense of the location of the shed relative to the house
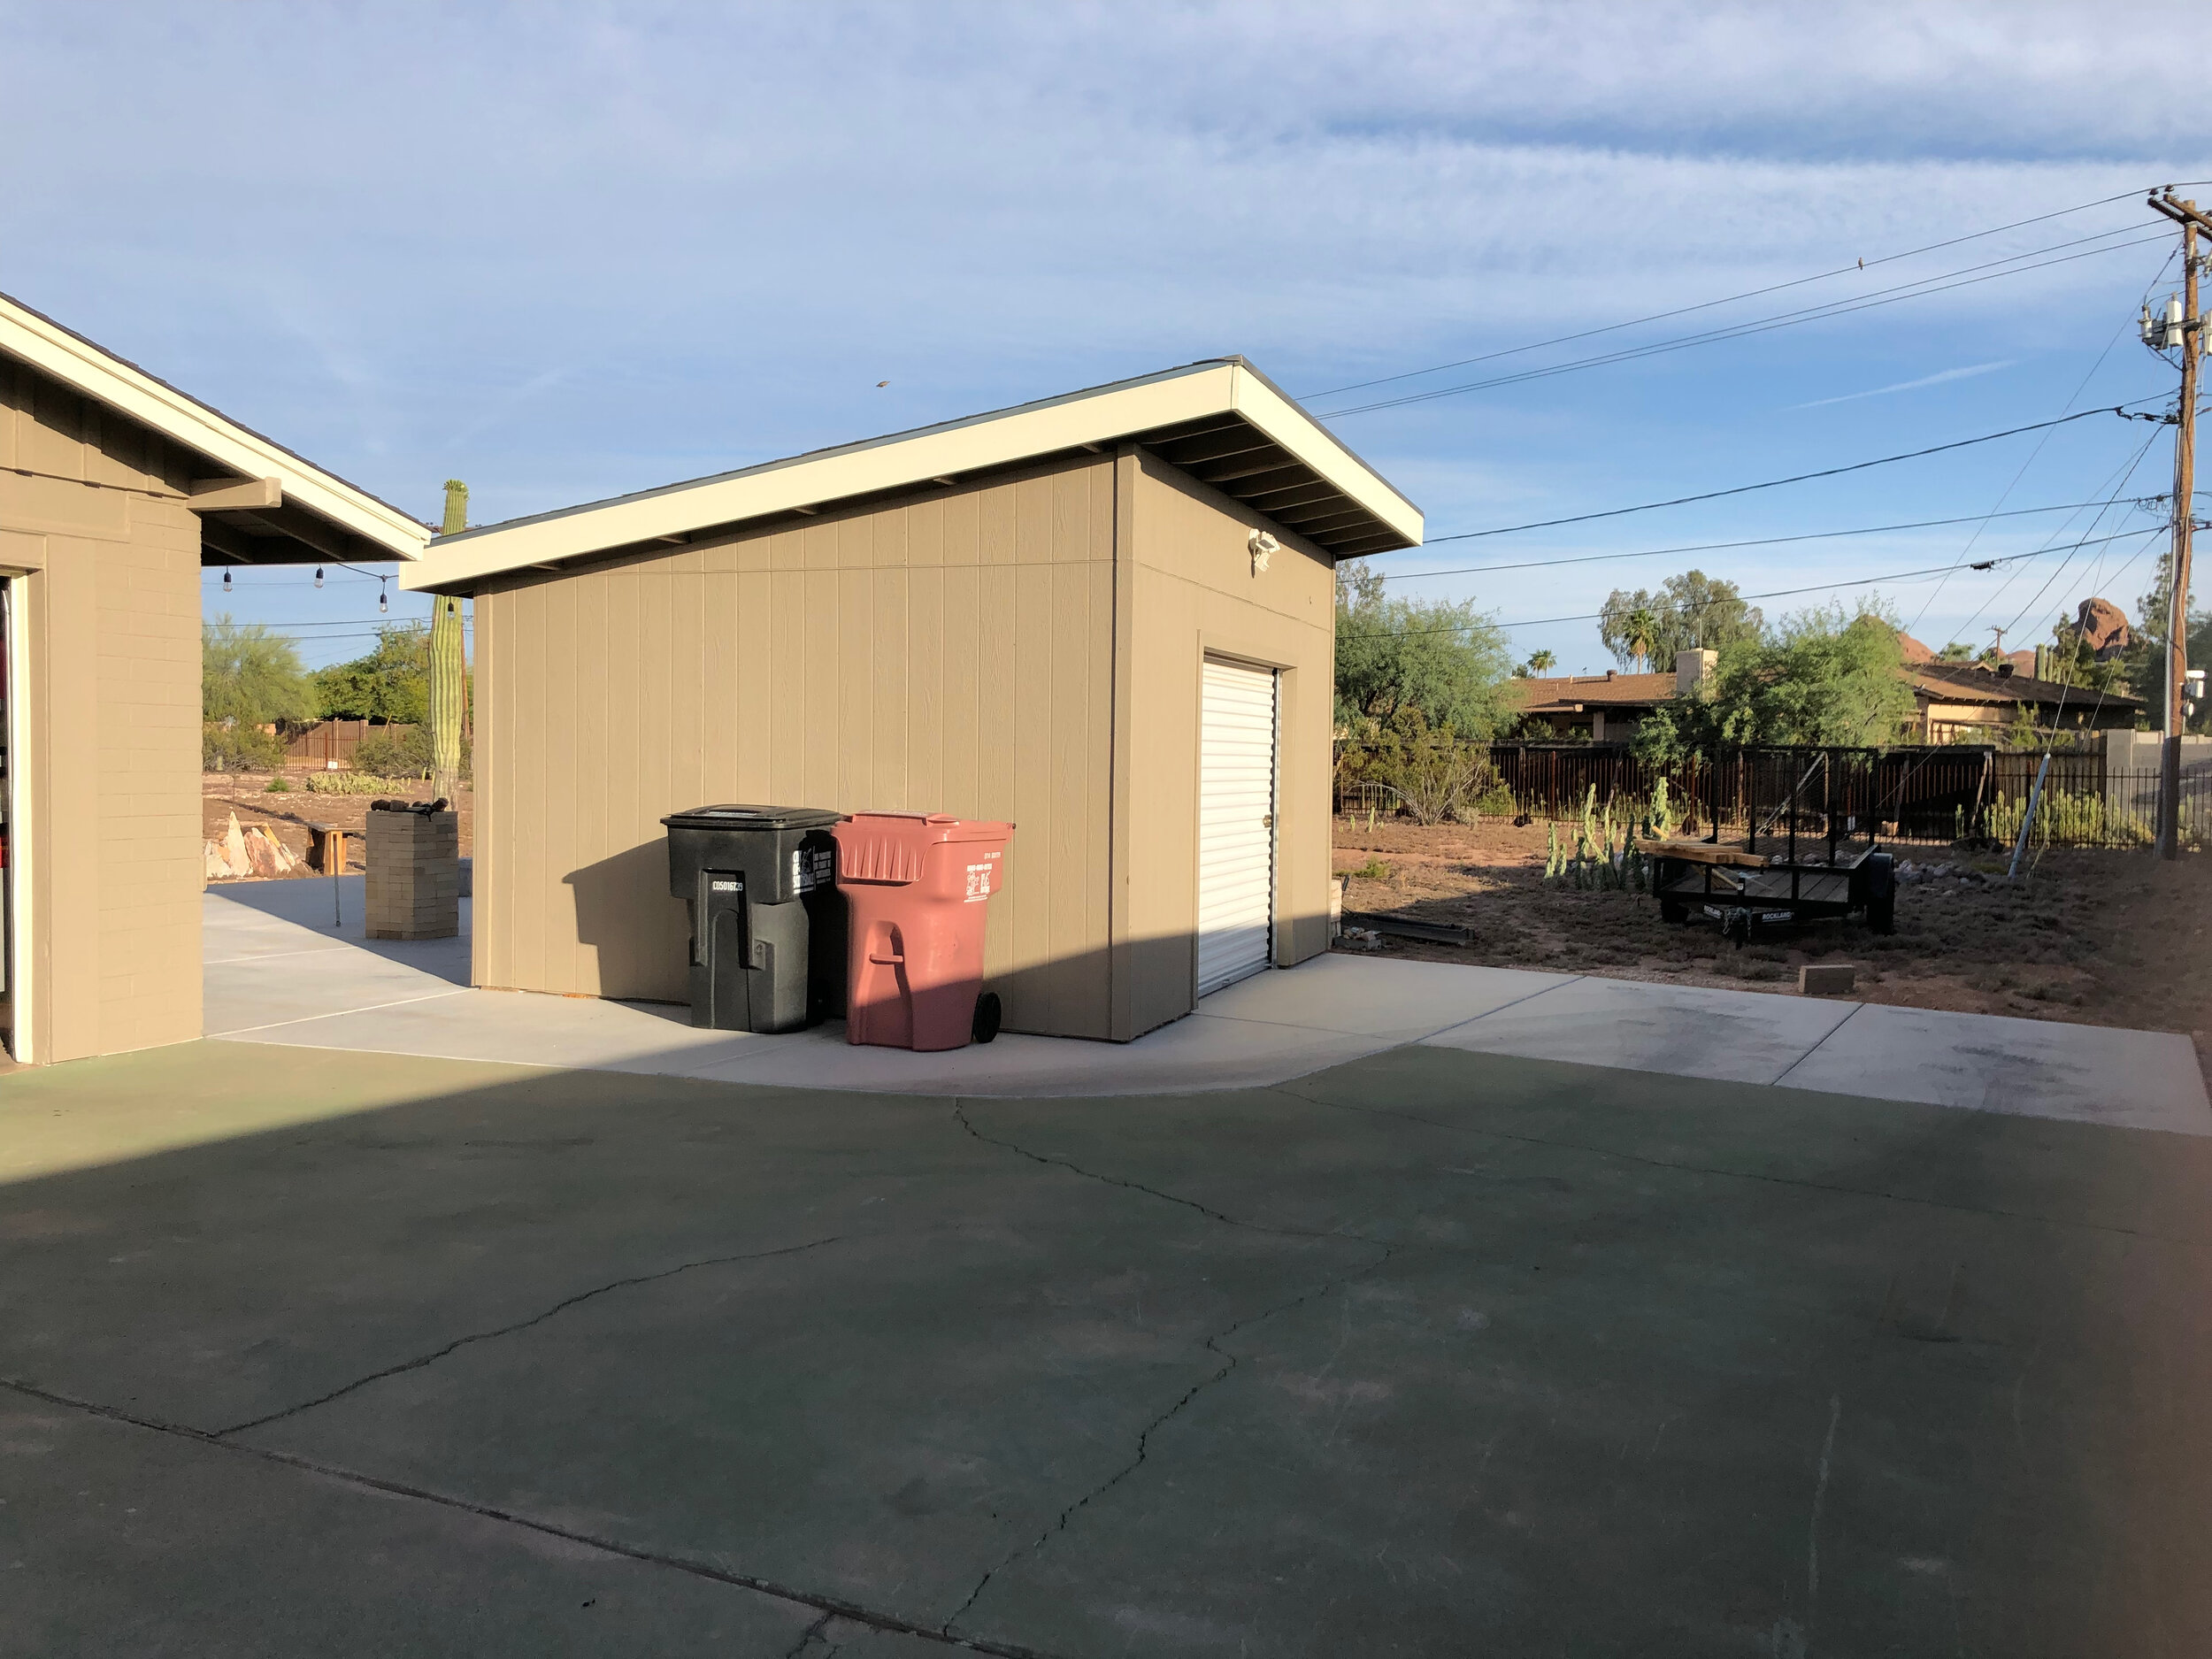
The completed shed, including matching paint job with the recent house painting
This actually was not that difficult to build and for the square footage I got, it was definitely cheaper than some of the pre-built sheds out there. The coolest thing was that I designed it myself, I built it myself, and I save some coin. I don’t count my time in these projects because, to me, at least, this is recreation. There is entertainment, learning, relaxation, etc. value in the time I spend with DIY home improvement and other maker-type projects. I do it because I love it.